Recently we posted first part of our Bluetooth research diary. Today, we want to continue on that topic and tell you about Bluetooth proxying and packet replay with a new tool.
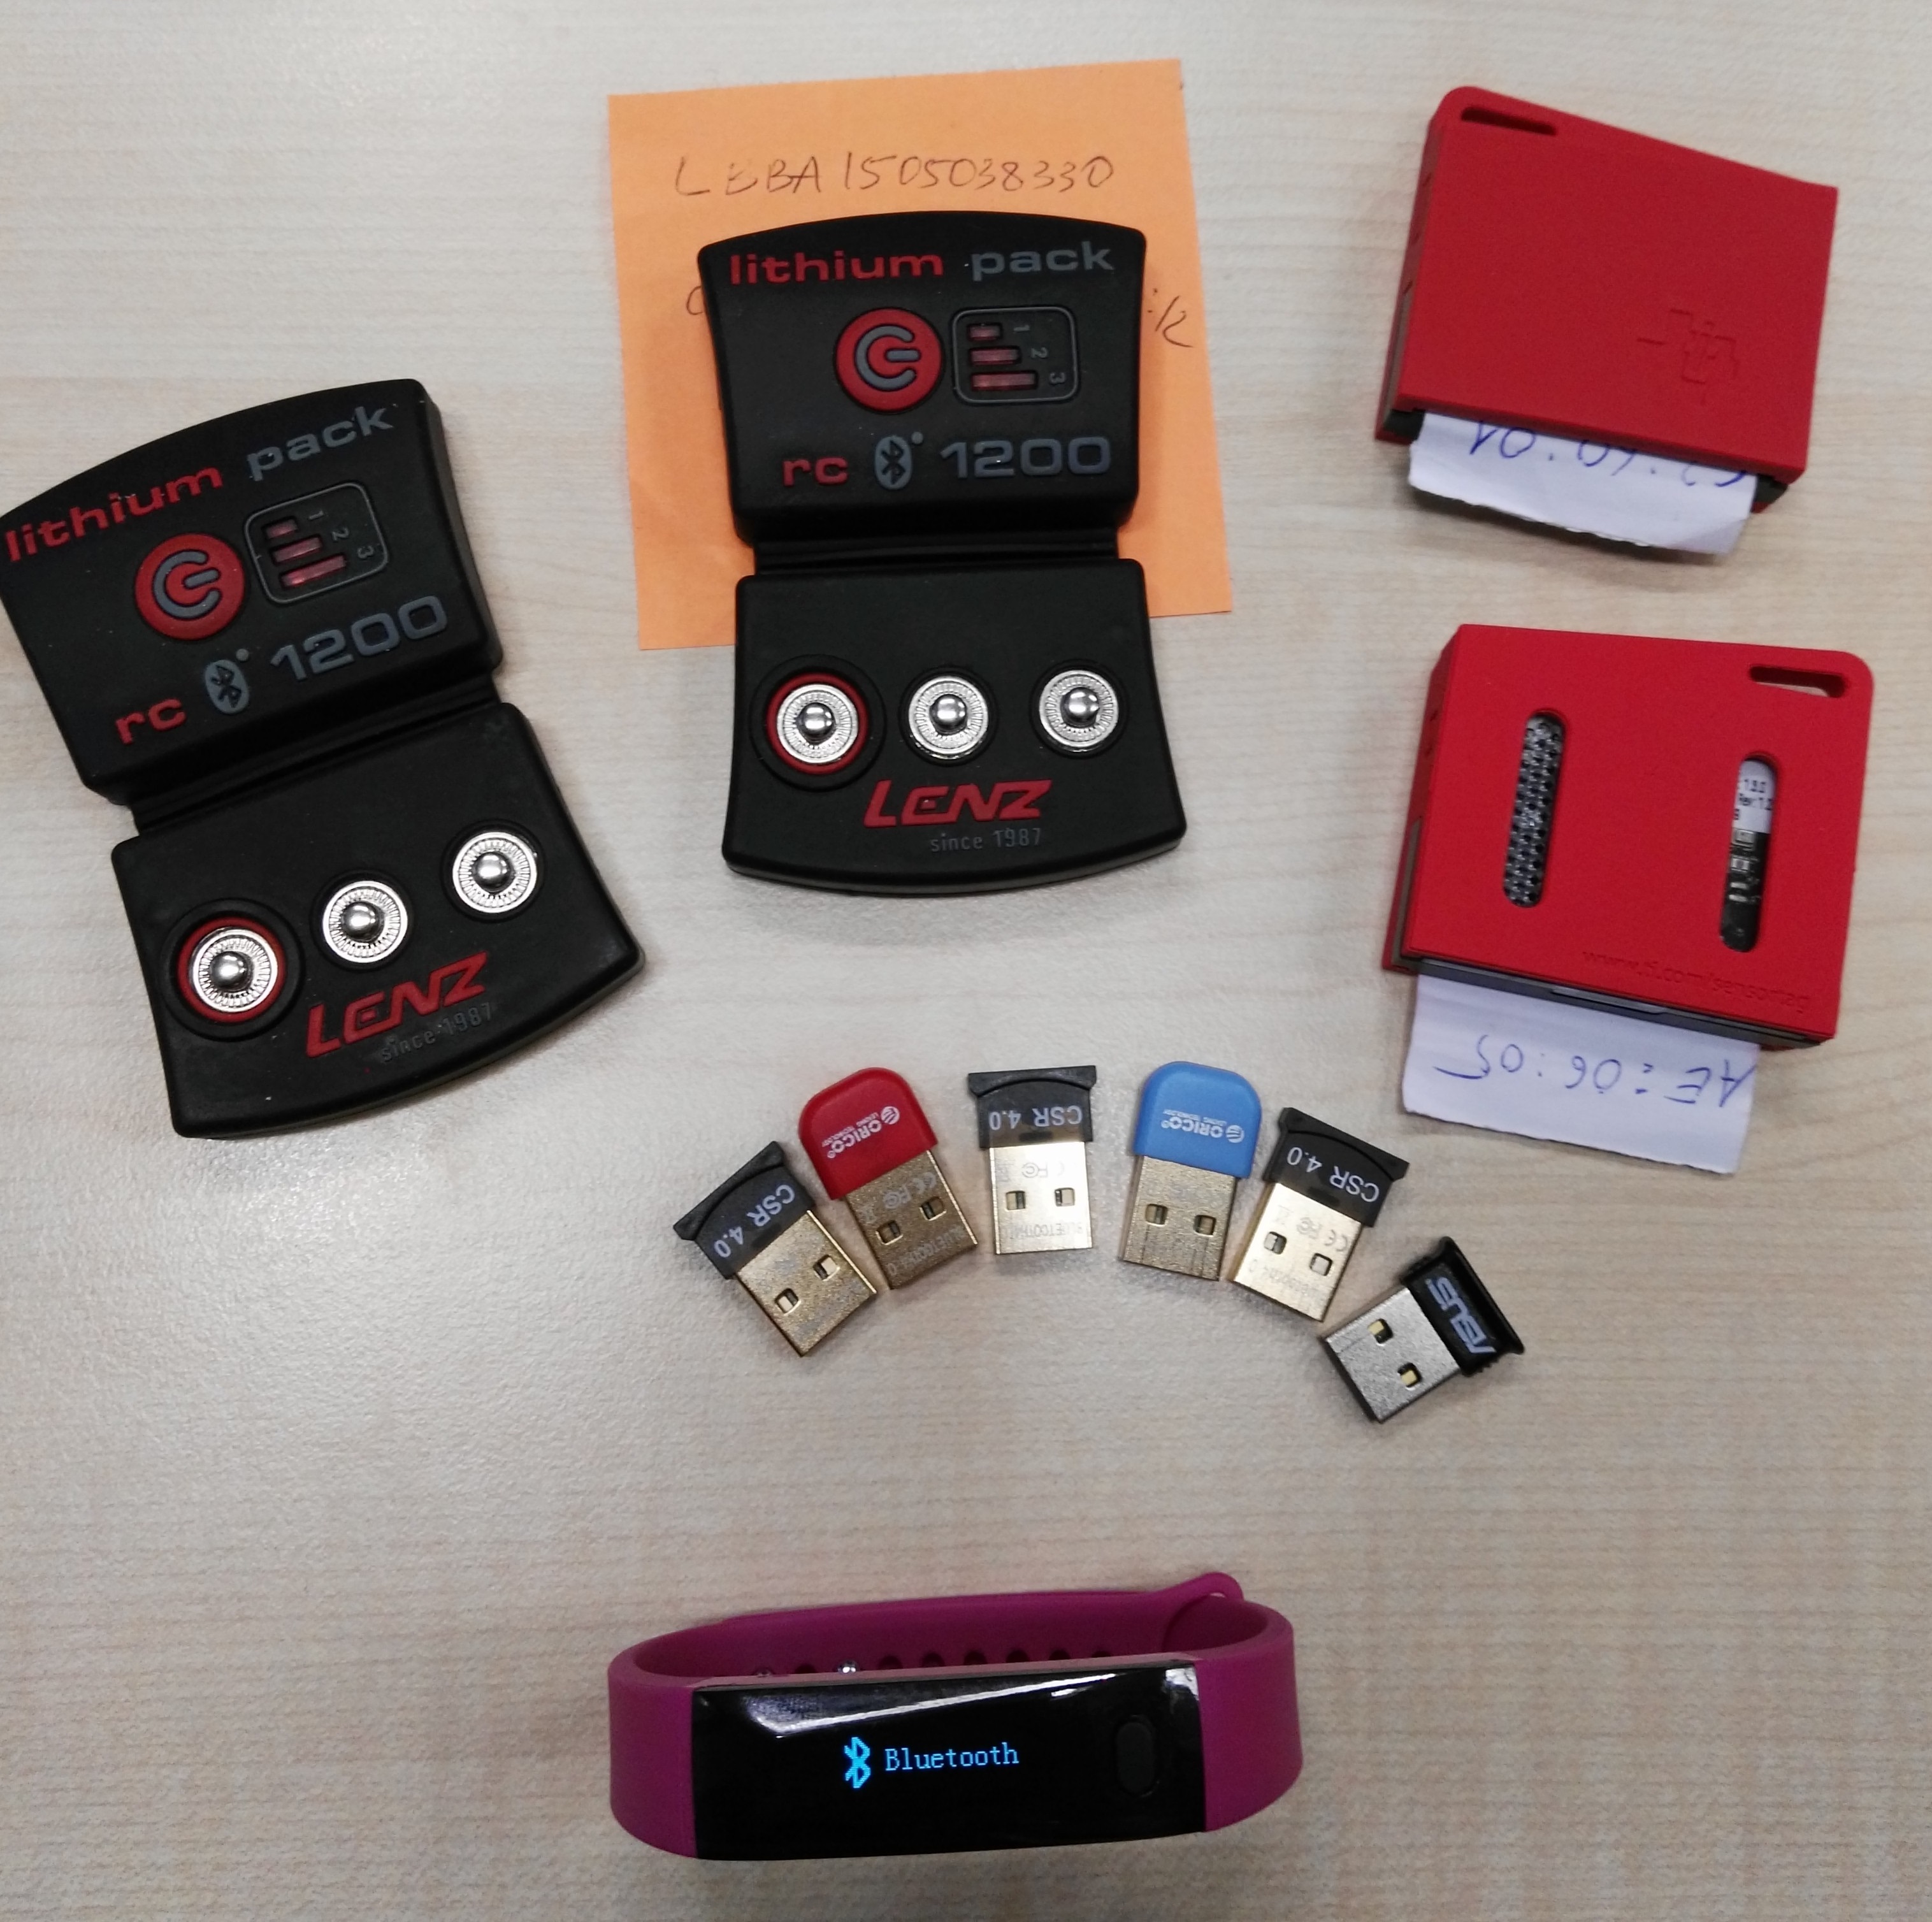
This time we had a new gadget to play with: our colleague Florian Grunow shared with us a curious IoT device – Bluetooth socks… real socks that you control with an app to heat your feet. The future is here… 😉
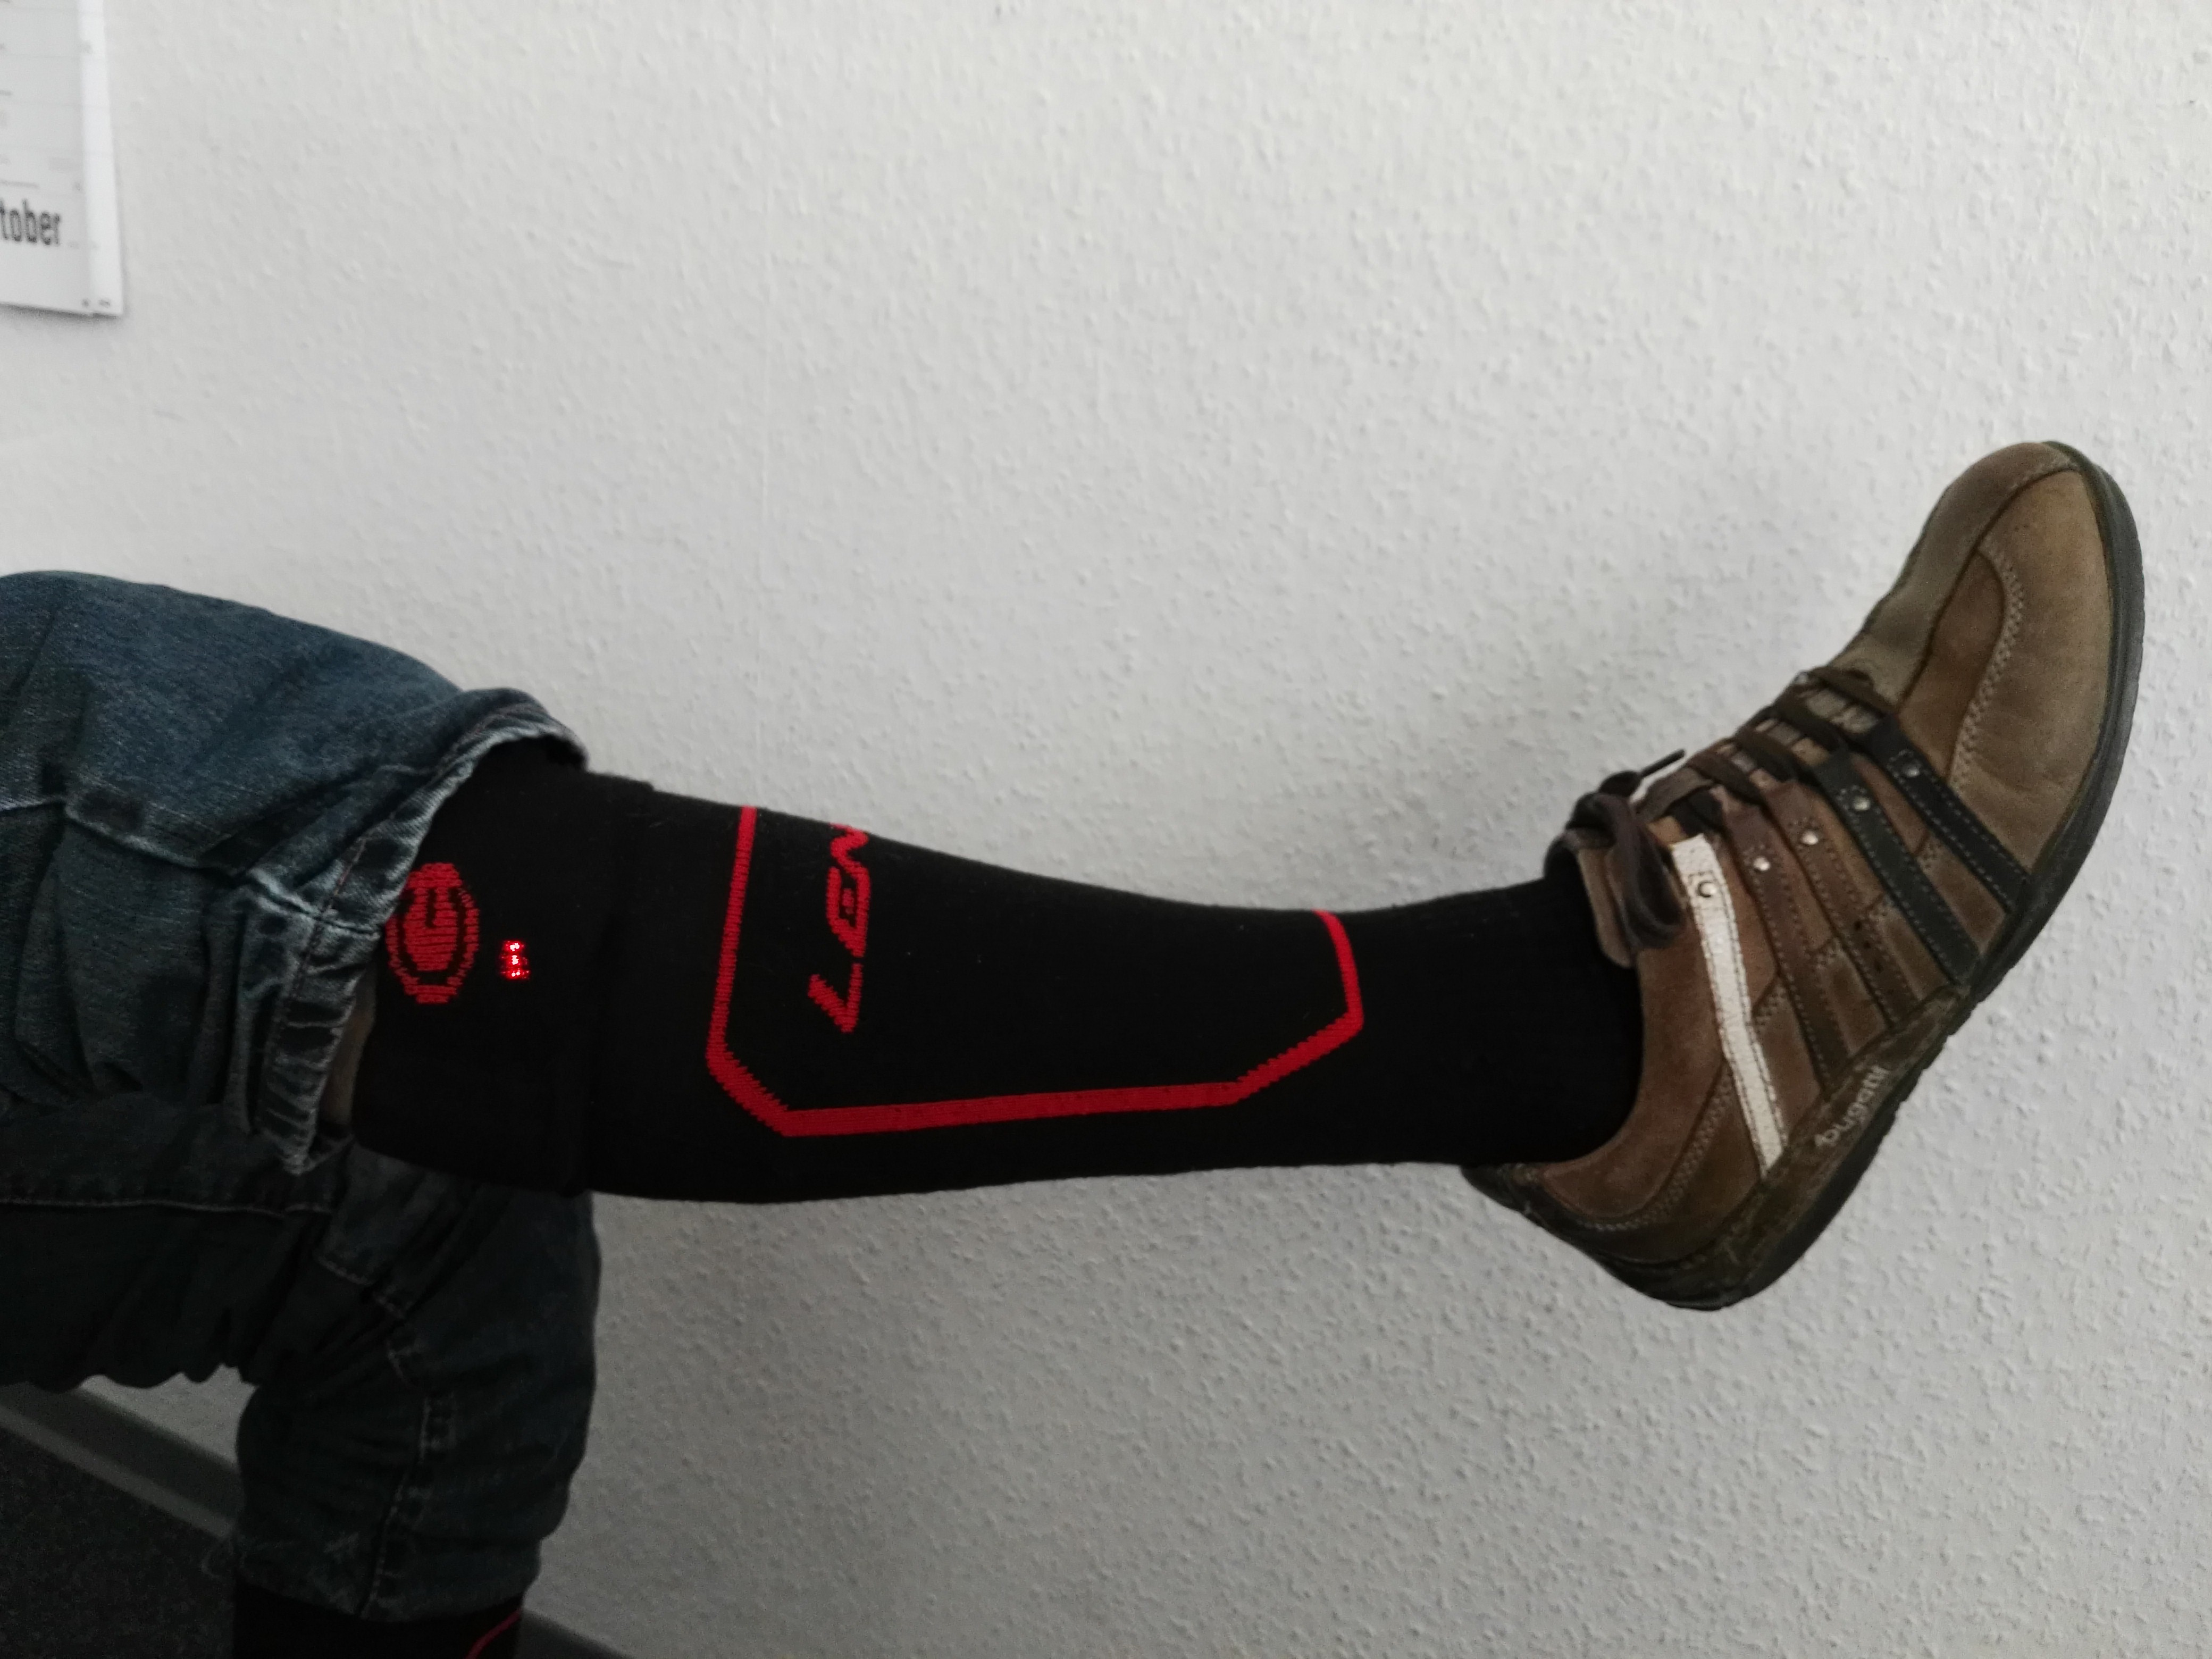
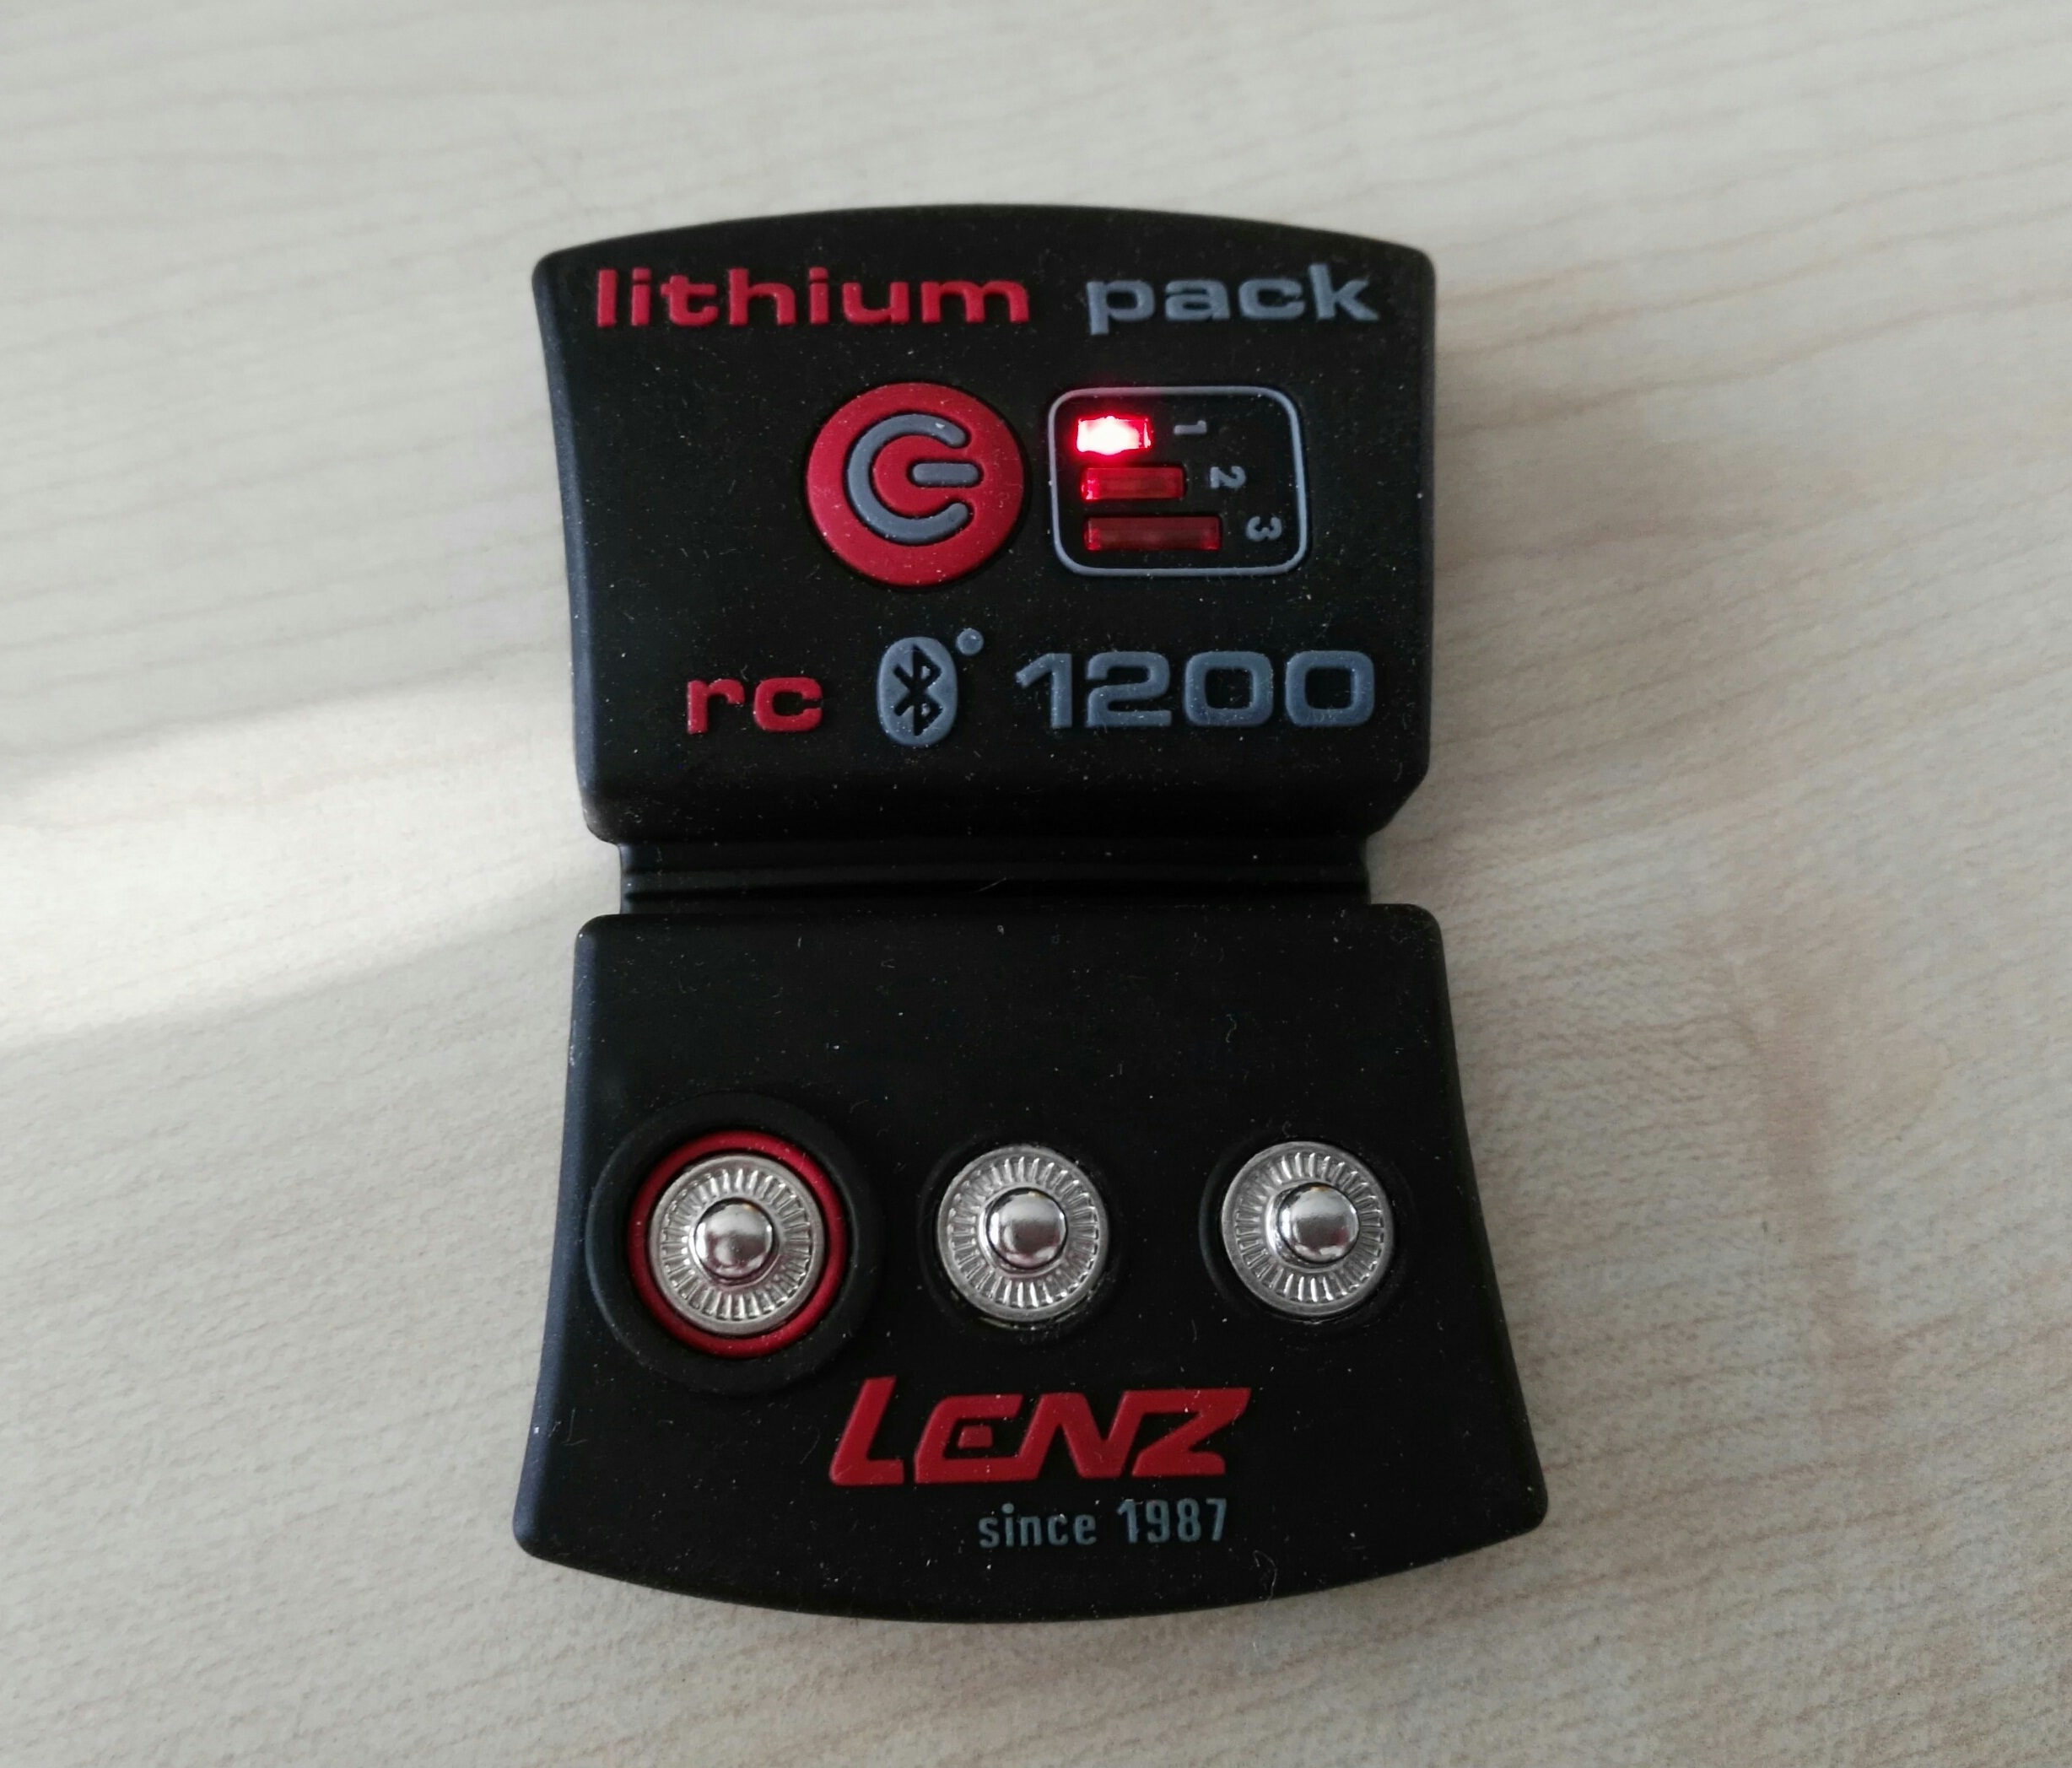
The main module contains three LEDs that represent heating level – with the app you can set it to 1, 2, or 3 or turn LEDs off.
To deal with our device we decided to try a new tool called GATTacker. GATTacker is a Node.js package for BLE (Bluetooth Low Energy) Man-in-the-Middle attack. The tool and additional information can be found here.
GATTacker creates a copy of your target device (in the Bluetooth layer) and starts broadcasting on behalf of it, while keeping the connection to original device – in this case it cannot be paired with anything else and interfere in your communications. The app then can be tricked into talking to the cloned device and it will be possible to see the communication between them in a json format. For more information on how does the tool work please refer to the original FAQ document.
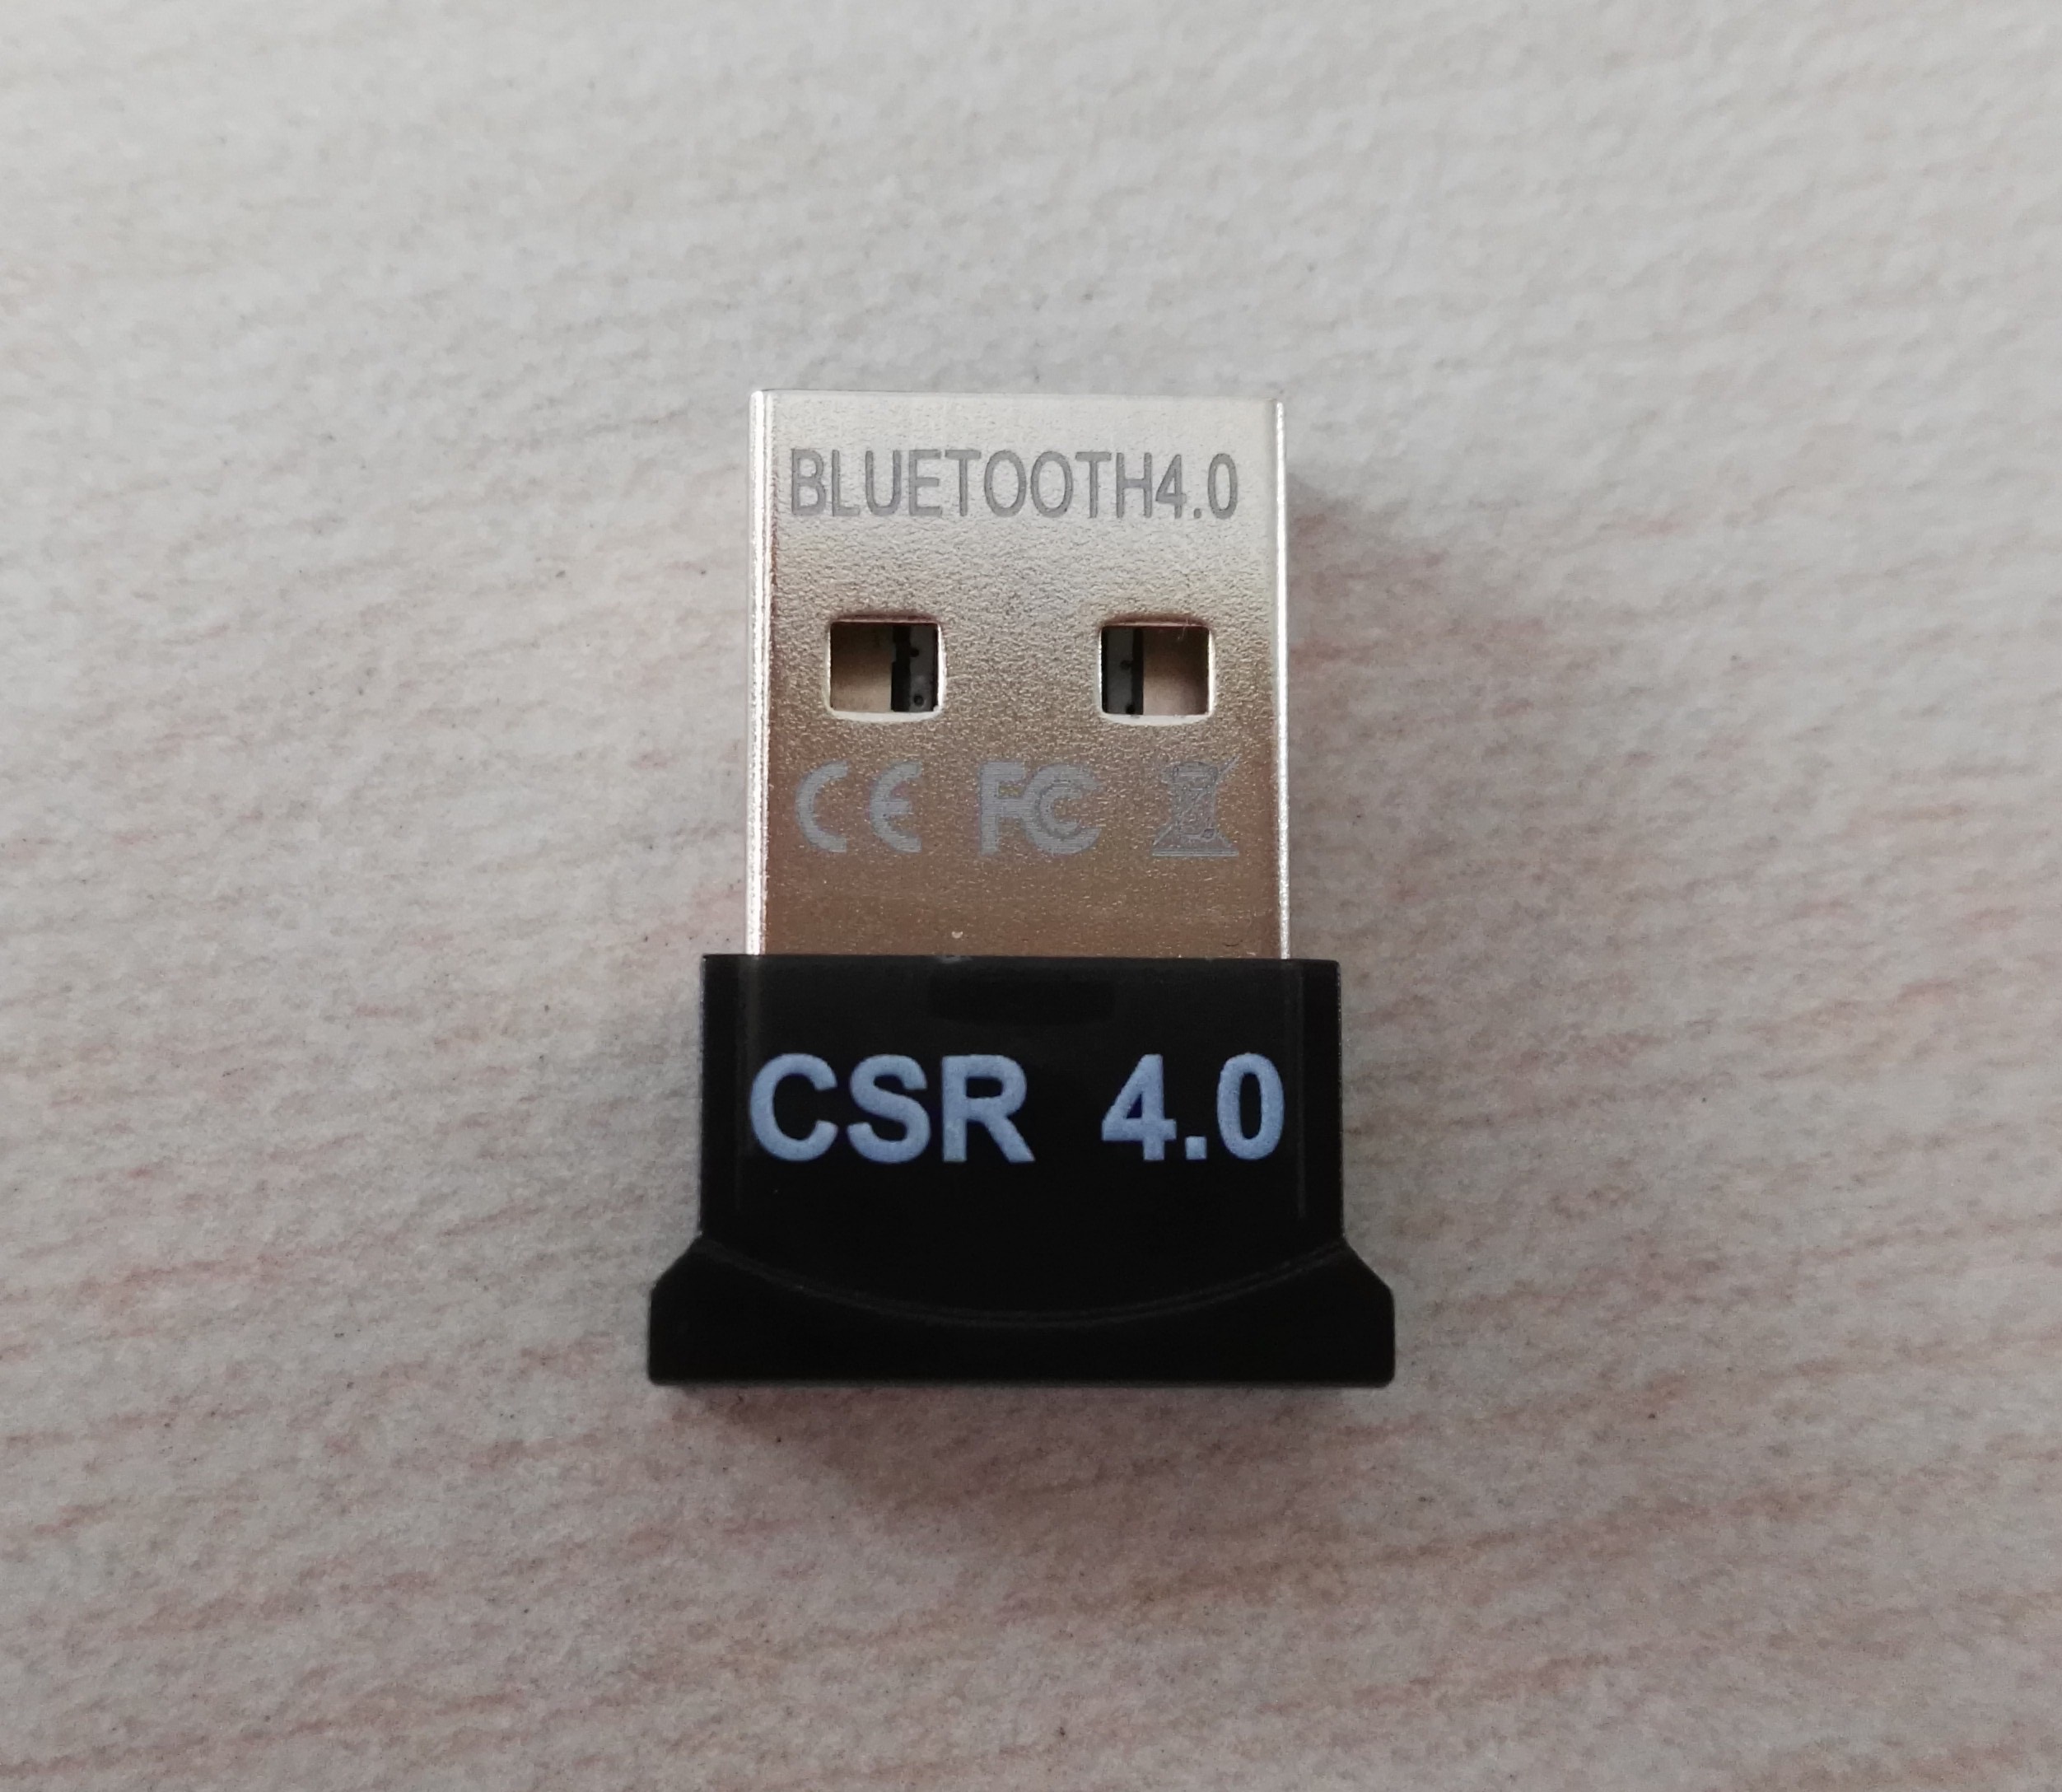
Now let’s have a look at the initial steps you need to perform to clone your device. First of all to perform MitM we needed at least two Bluetooth dongles. To be on the safe side we ordered several different dongles which all use the CSR8510 chip.
After plugging two of them in, we needed to configure which dongle (hci device) should be used for the tool modules. For that purpose you need to configure different HCI_DEVICE_IDs to the corresponding ones of your dongles in the $GATTACKER_DIR/config.env file. In our case the variables looked like:
NOBLE_HCI_DEVICE_ID=1

BLENO_HCI_DEVICE_ID=2
Now you need to start the ws-slave module and perform initial scan to identify your target device. Its advertisement will be saved in a file in $GATTACKER_DIR/devices folder:
# sudo node ws-slave
In separate terminal window:
# node scan
Once you found the device you are interested in (“peripheral” device), scan its characteristics:
# node scan <peripheral>
You will get the file with all available services saved in the devices folder. Now you have everything needed to set up the clone! You can do it with the following command:
node advertise -a <advertisement_json_file> [ -s <services_json_file> ]
This clone will connect via websocket to ws-slave module in order to forward requests to original device. Static run (-s) sets services locally without connecting to ws-slave module.
It is possible to set up hook functions when specific action for specific service is detected. We tested this functionality with the customLog function provided with GATTacker as an example; it can decode and log the values being exchanged between the device clone and the application.
With the GATTacker it is possible to easily setup the intercepting proxy such as Burp in between the modules to observe and tamper the traffic. To make it work, we did the following steps (consider that we used modules on one machine; in other cases you can set your different IPs instead of localhost):
- start Burp proxy at localhost:8080, proxy should be in invisible mode
- at the same time Burp needs to have an upstream proxy: we set it to localhost:2846. Here 2846 is the port used by the ws-slave module – to find it and change it check the $GATTACKER_DIR/ws-slave.js, you will find in the beginning the line
var port = 0xB1e; - now change the port in the file $GATTACKER_DIR/lib/ws-client.js to your Burp proxy port (8080 in our example).
Now everything should work and you are supposed to see the traffic in a WebSockets proxy tab of Burp. You can also intercept and change messages, but unfortunately WebSockets do not work with Repeater. For this case we used a simple web application which opens a connection to the WebSocket and lets us send a command. To connect it to our setup we just need to change app.js file and set it connecting to our Burp instance:
// Create a new WebSocket.

var socket = new WebSocket('ws://127.0.0.1:8080');
Now when we are ready to intercept the traffic we need to clone the device and make the corresponding app connect to our clone. We already have the advertisement and services files; in some cases it is also necessary to clone the MAC address of the original device so the app won’t have problems connecting to your dongle. For this you need to make bdaddr tool that comes together with the GATTacker (check helpers folder) and then just simply start your peripheral device with the following command:
# ./mac_adv -a <advertisement_json_file> [ -s <services_json_file> ]
What we have learnt from observing the socks’ traffic, is that the whole functionality is concentrated in changing one characteristic that is surprisingly named “Heart Rate Measurement”. This lets us assume that the manufacturer is probably reusing the same protocol for different products. Also, we noticed that there is no authentication nor encryption used by our target device.
It needs to be mentioned that there are three important actions you should know for interacting with the WebSocket which will then interact with the Bluetooth device.
The first one is the “read” action which is used for reading data values from a specific service characteristic:
{"action":"read","peripheralId":"$MAC_BT_DEV", "serviceUuid":"$Service_UUID", "characteristicUuid":"$Char_UUID"}
The second on is the “write” action which is used to set a data value to a specific service characteristic:
{"action":"write","peripheralId":"$MAC_BT_DEV","serviceUuid":"$Service_UUID", "characteristicUuid":"$Char_UUID","data":"$dataValue", "withoutResponse":false}
And the last one is the “notify” action which is used to set a specific service characteristic to notify you about changes (if such action is supported).
{"action":"notify","peripheralId":"$MAC_BT_DEV", "serviceUuid":"$Service_UUID", "characteristicUuid":"$Char_UUID","notify":true}
We noticed that the data being written in the “Heart Rate” characteristic of the socks is always looking more or less the same, except for changing values in some positions. We identified what value belongs to which action. Let’s have a look at the following example: 302c392c30.
- The last digit is responsible for setting LED on/off: for “on” it is 0, for “off” 1,
- the position in the middle (9 in our case) changes the heat level: 1, 5 and 9 for levels 1, 2 and 3 respectively.
All possible combinations are shown in the following table:
| Heat level | LED on | LED off |
|---|---|---|
| 1 | 302c312c30 | 302c312c31 |
| 2 | 302c352c30 | 302c352c31 |
| 3 | 302c392c30 | 302c392c31 |
The following command is needed to set the heat level and LED state at once:
{"action":"write","peripheralId":"$SOCK_MAC","serviceUuid":"180d", "characteristicUuid":"2a37","data":"302c312c30","withoutResponse":false}
We also cloned the TI Sensor Tag from our previous research week. In this case we could identify the characteristic used to turn two LEDs or/and the Buzz on/off.
There are two different characteristics which are needed to perform these actions.
The first one is used to set which LED and/or Buzz should be turned on.
The following command is an example for activating the RED LED:
{"action":"write","peripheralId":"$MAC", "serviceUuid":"f000aa6404514000b000000000000000", "characteristicUuid":"f000aa6504514000b000000000000000", "data":"01","withoutResponse":false}
The “data” value of the characteristic f000aa6504514000b000000000000000 is used to represent which LED and/or Buzz is used.
- Everything off is the value 00
- The RED LED is the value 01
- The Green LED is the value 02
- RED + Green LED is the value 03
- Buzz is the value 04
- RED + Buzz is the value 05
- Green + Buzz is the value 06
- RED + Green + Buzz is the value 07
But this will not enable the LED and/or Buzz. For that purpose a second characteristic f000aa6604514000b000000000000000 is used:
{"action":"write","peripheralId":"$MAC", "serviceUuid":"f000aa6404514000b000000000000000", "characteristicUuid": "f000aa6604514000b000000000000000", "data":"01","withoutResponse":false}
This command is also used to disable it again but with the “data” value set to 00.
These were the results of our second research week. For the next time we are planing to try to clone the Wristband or some other new Bluetooth device and also to take a closer look at the hook functions.
See you!
Rafael and Olga