I recently got in contact with Intel AMT for the first time. Surely I had heard about it, knew it was “dangerous”, it was kind of exploitable and had to be deactivated. But I hadn’t actually seen it myself. Well, now I have, and I simply love it and you will probably, too (and don’t forget: love and hate are very very close to each other 😉 )
The following blogpost will be a set of features and instructions on how to own a device with an unconfigured copy of Intel AMT without using any complicated hacks or the famous magic!
What is Intel AMT?
Intel Active Management Technology is a feature that has been known to be a part of proper servers for years. Due to servers being hidden away in a cellar, in some rack and usually far away from the guy who actually maintains them, they have remote management interfaces. These enable access to the server even if the operating system won’t start or simply at BIOS/pre-boot time. Intel decided to shift this functionality into their standard chipsets and CPUs, away from the server market and into laptops and desktops.
I guess everybody who works in tech support can see the advantages in being able to access a customers BIOS or watch the operating system boot. On the other side, everybody who works in security sees stacks of risks and attack possibilities…..
To start off, just as when unwrapping a new gadget, I’ll be giving you an insight into the configuration menu, afterwards we’ll have a closer look at how things work and how to control them.
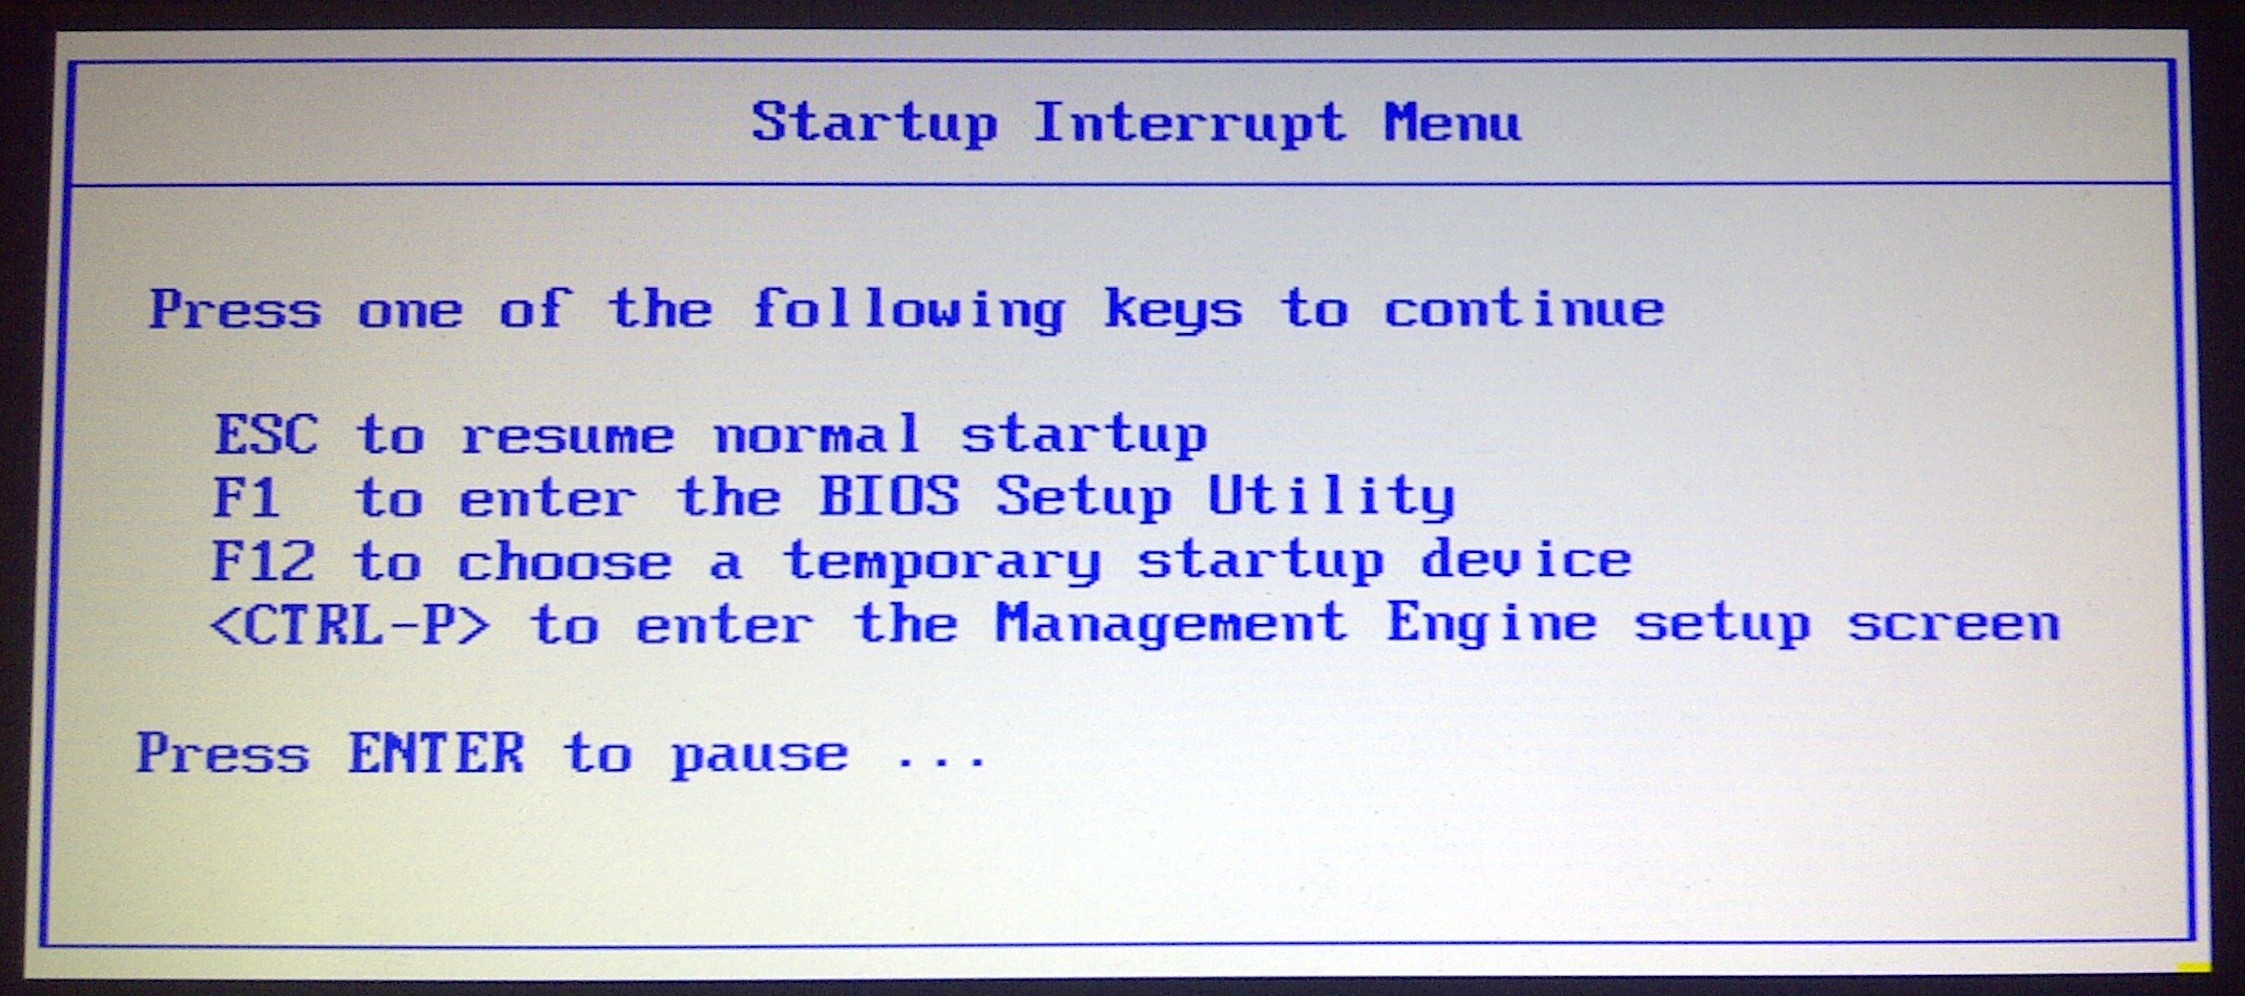
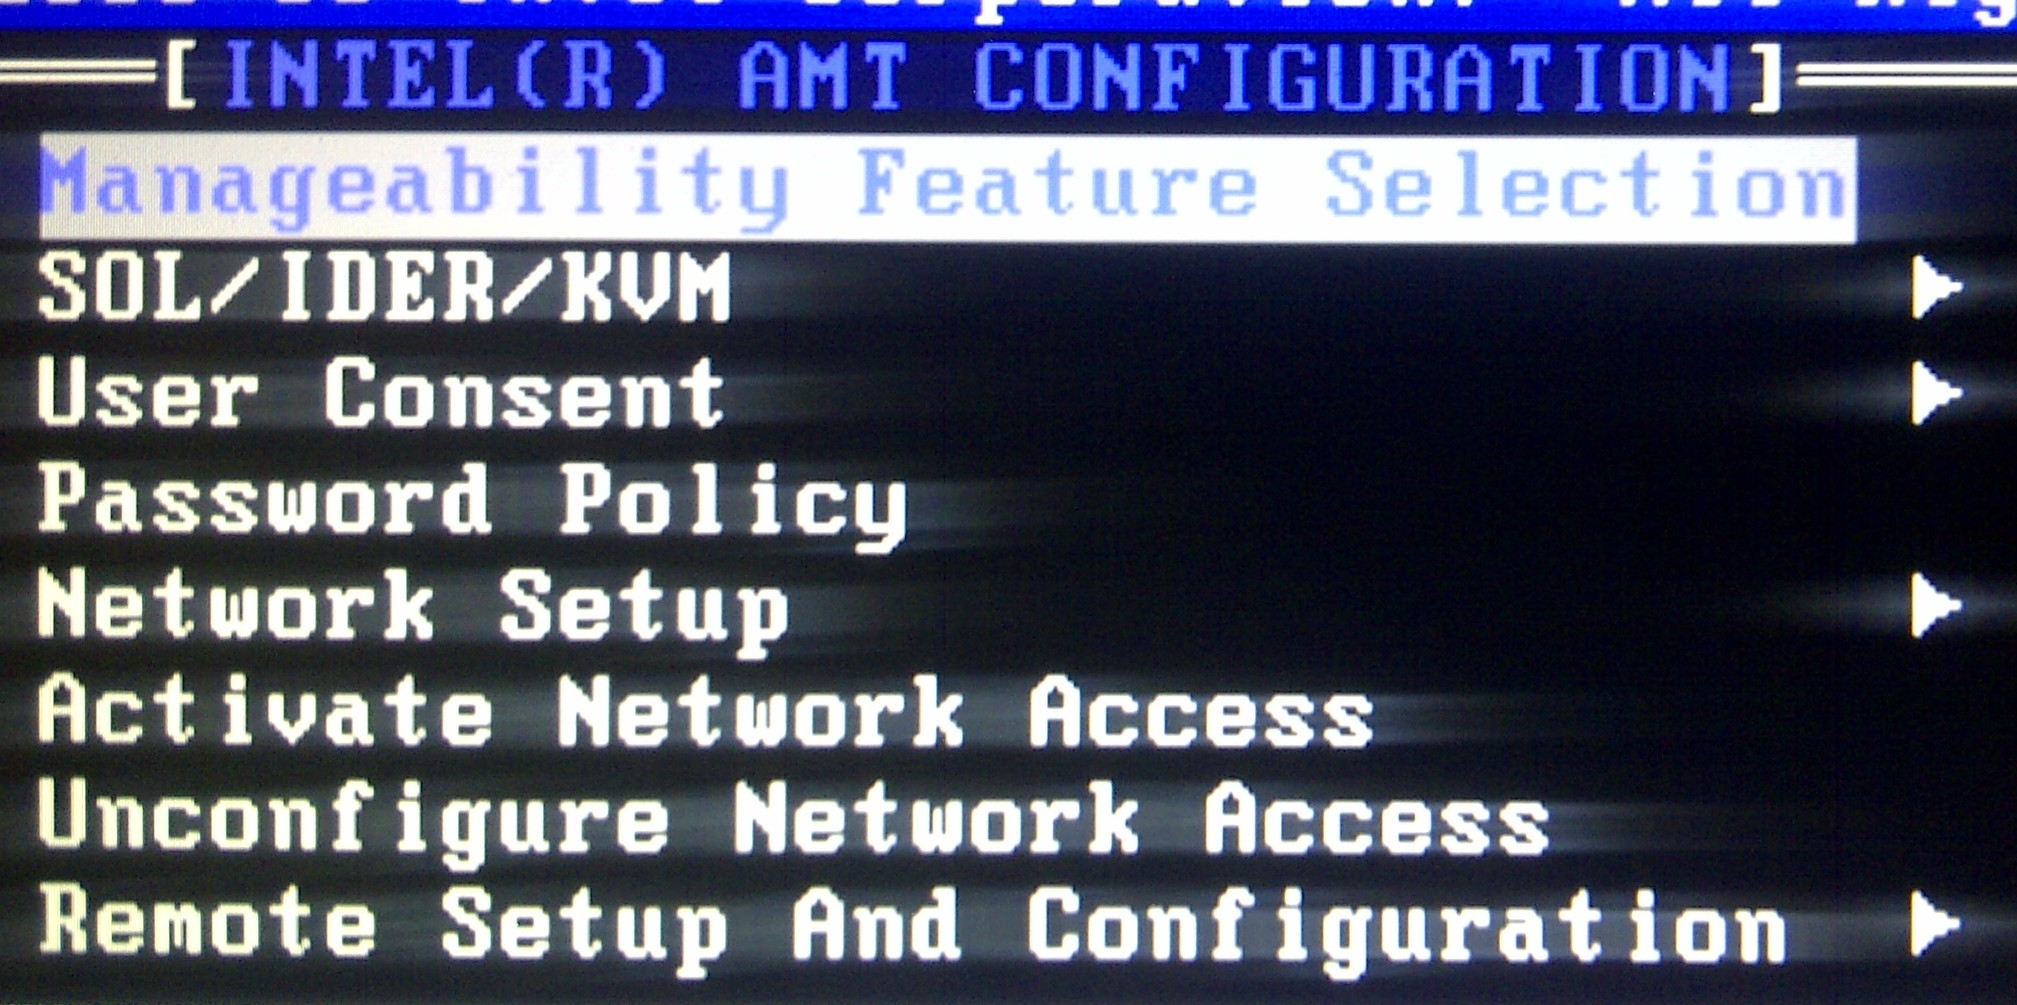
Startup Menu and Main Menu
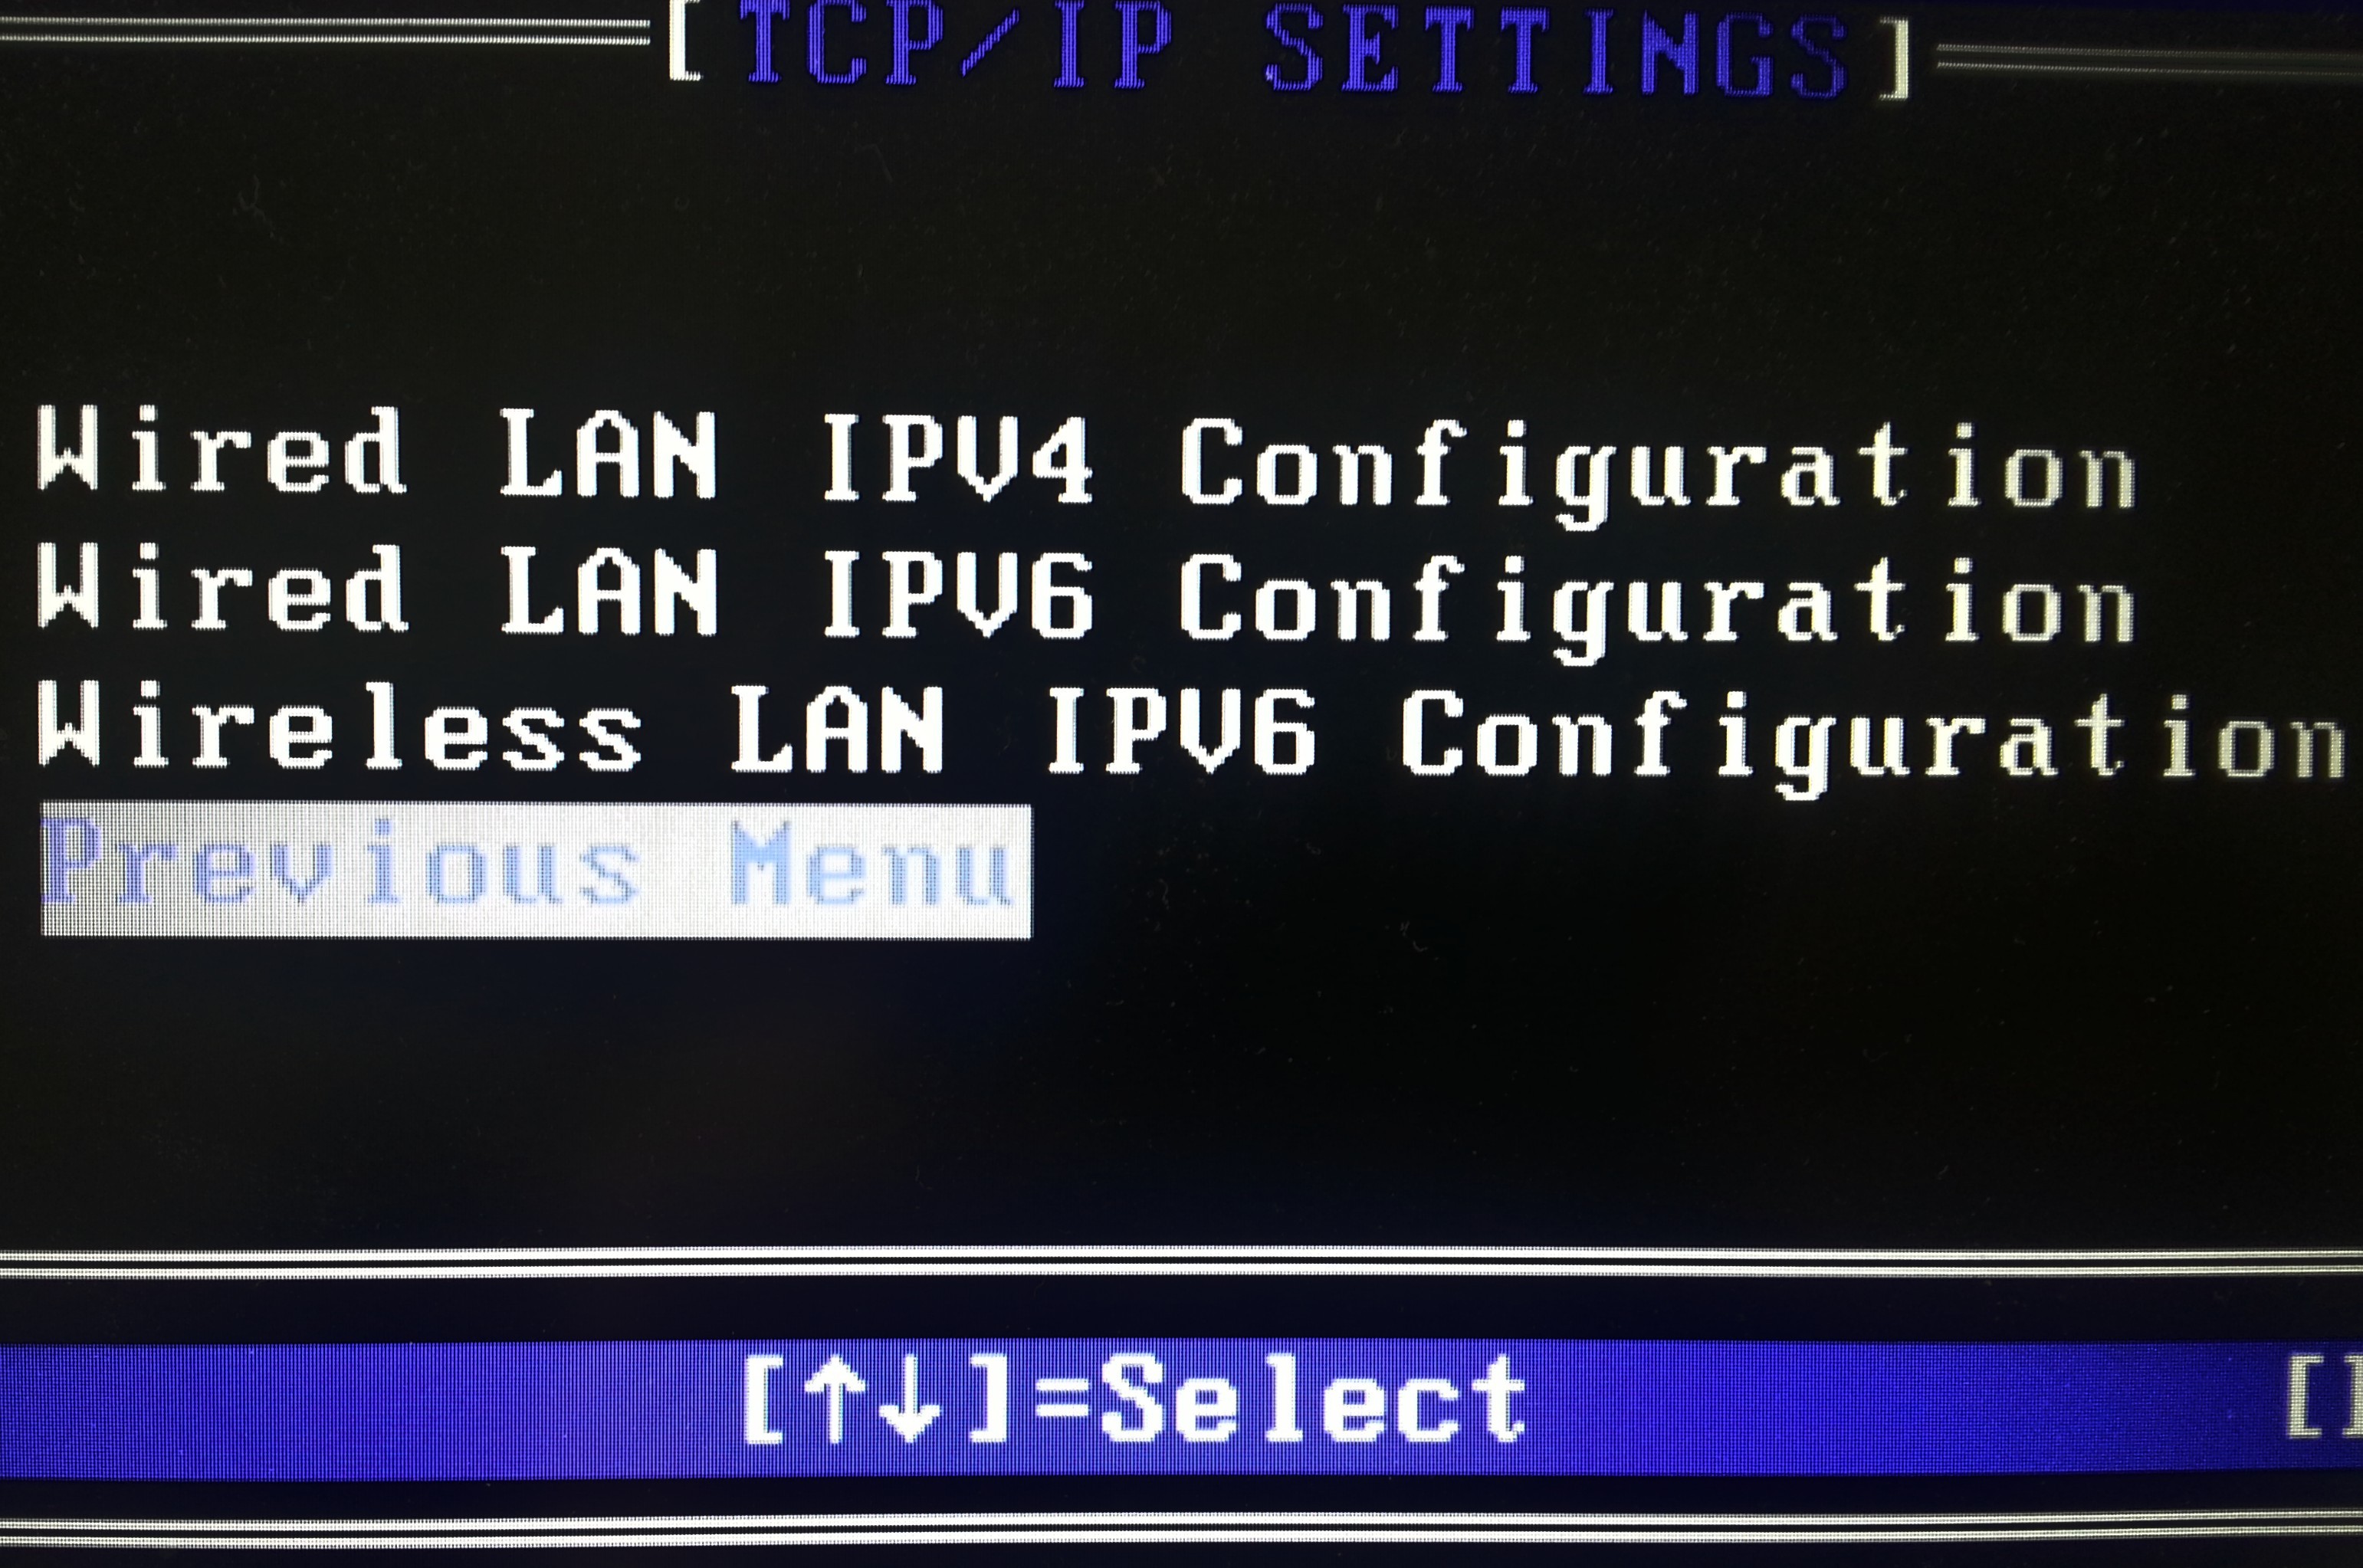
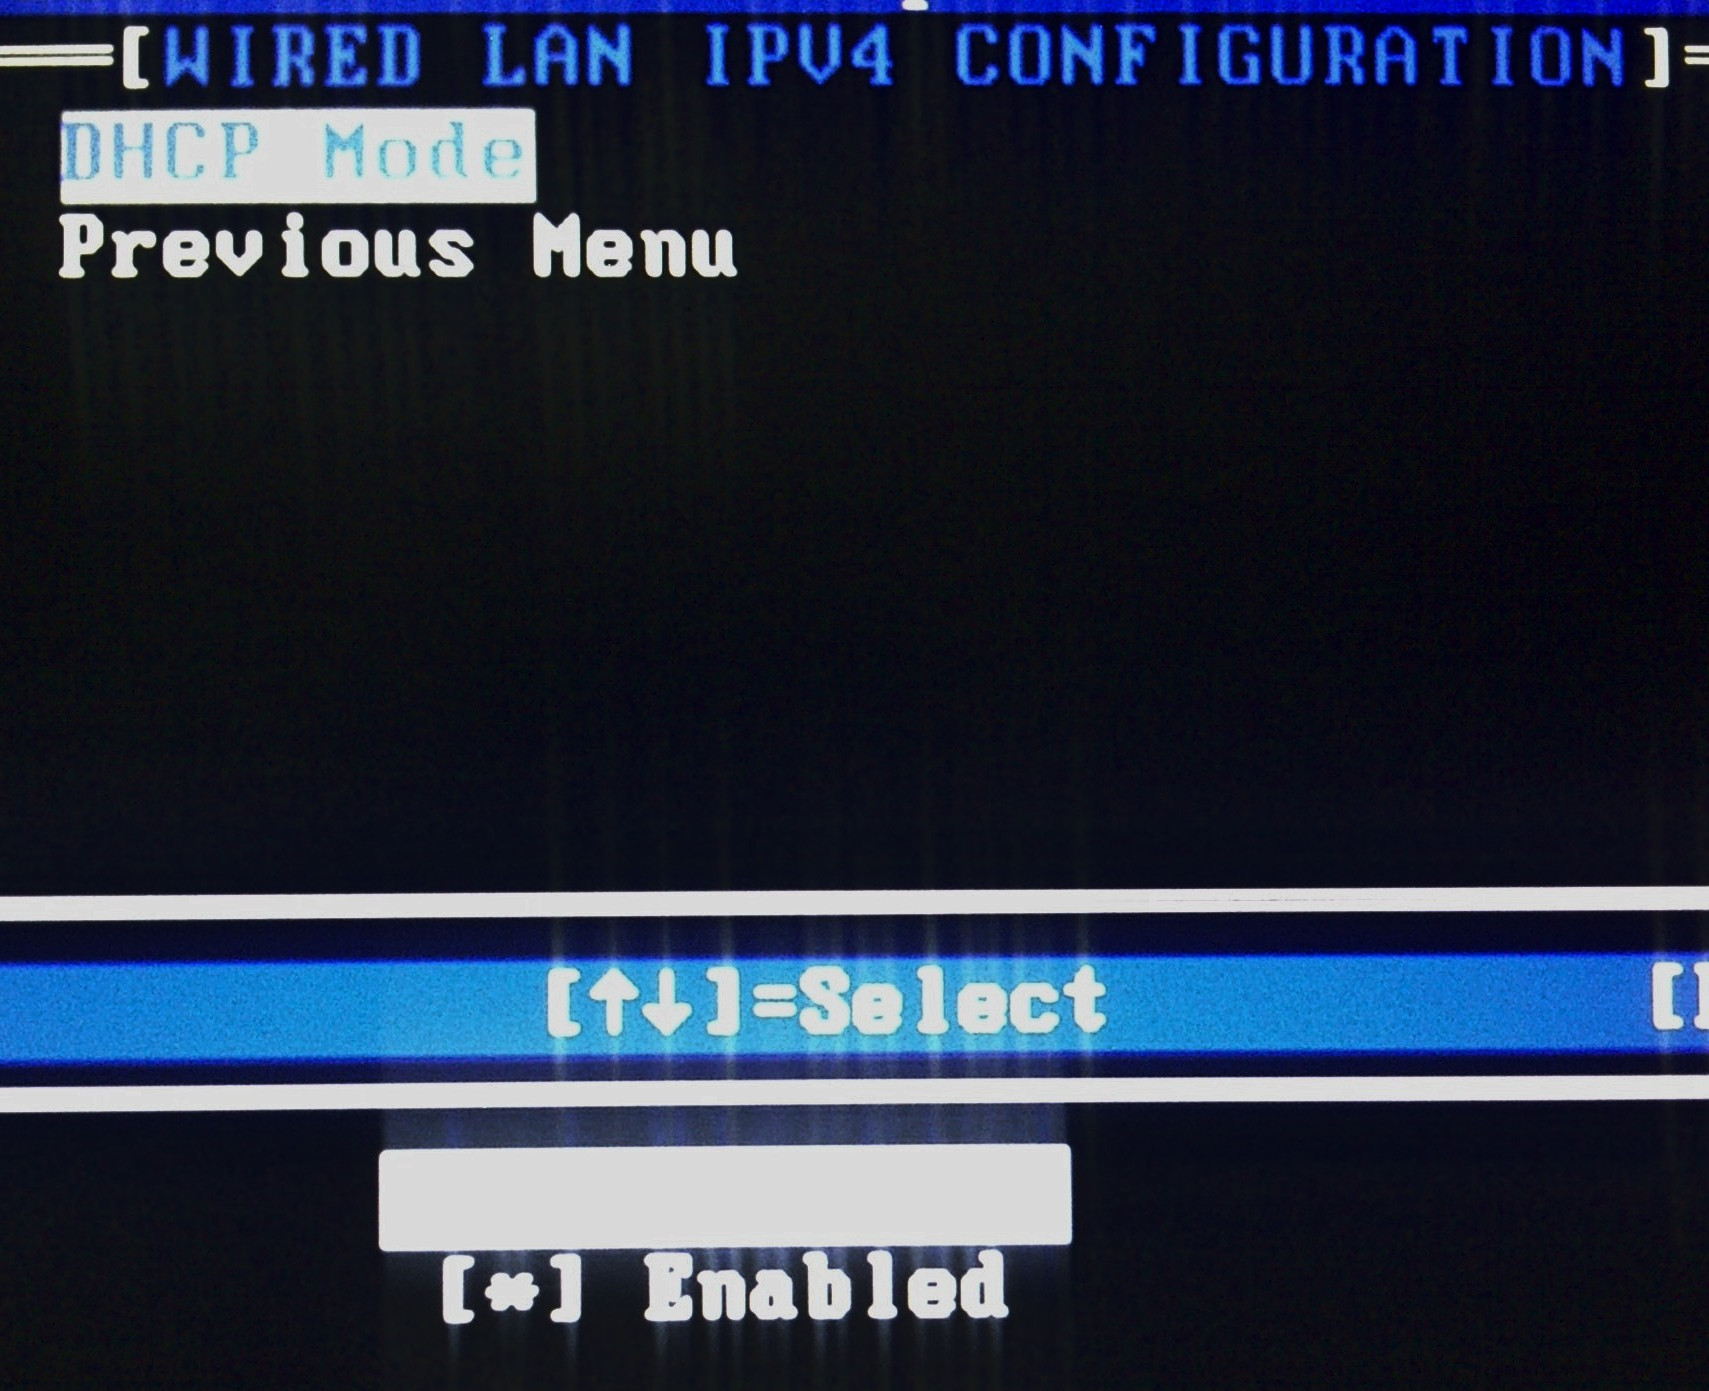
Network Overview, luckily DHCP is enabled by default
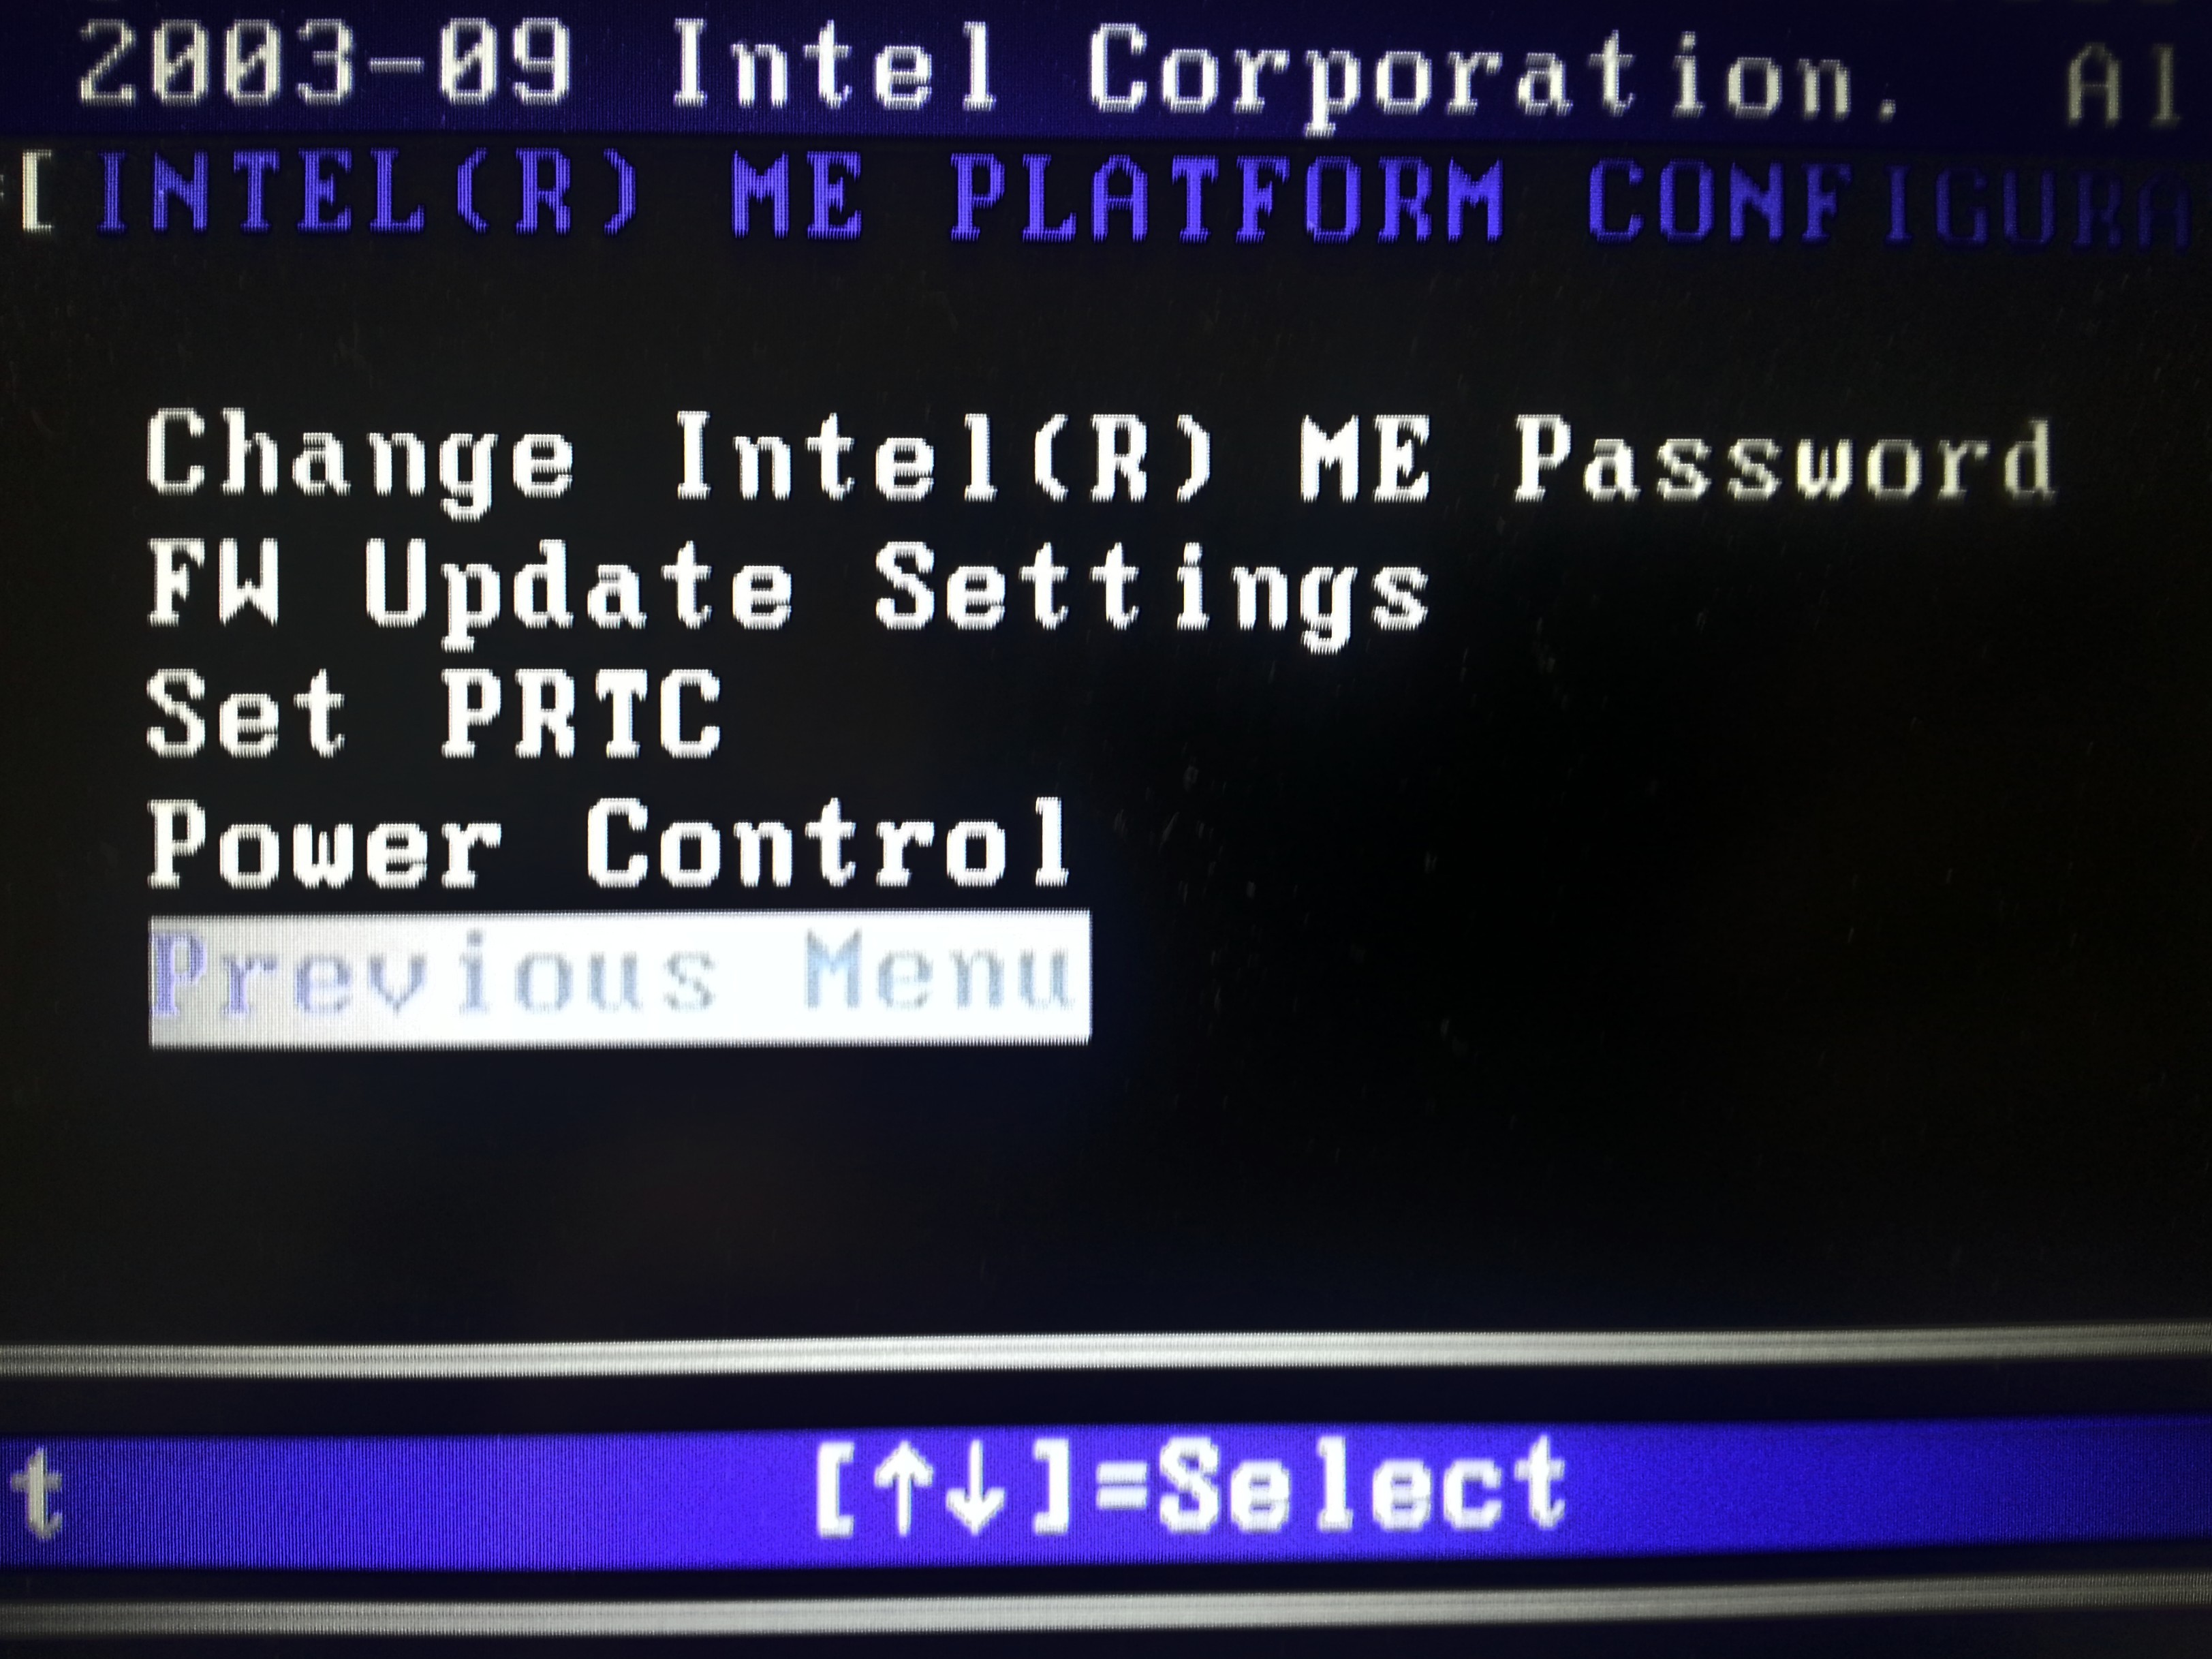

ME Overview Menu and the Local Firewall Setting (and hey, it’s set to enabled)
First off, check with the device handbook on how to access Intel AMT (the devices I had a closer look at accepted CTRL + P ). The first thing you’ll see is a password field. If you haven’t used the interface, yet, and AMT is unconfigured you ought to get in using “admin” as password. Now you’ll have to change the password, the new one will need 8 chars including a digit, an upper and a lower case char and a special one (at least a rather secure password). From what I have read and seen so far, AMT is now up and running and should have opened a port. You may now connect using a web browser, via port 16992 and do some configuration. By the way, how long would the famous evil maid have needed for that? AMT will share the IP with the host device and can listen on both LAN and Wifi.
Luckily we don’t have to use the menu on the device or the simple web interface to configure AMT, but can use the Open Manageability Tool Kit (OMTK) and AMT Software Development Kit (AMT-SDK). Both contain Software to remotely configure and control the AMT chip. In the following I’ll stick to the OMTK.
The first piece of Software we’ll have a look at is the “Manageability Command Tool”. After starting it you need to add your target device, either using a network scan or by directly adding your device.
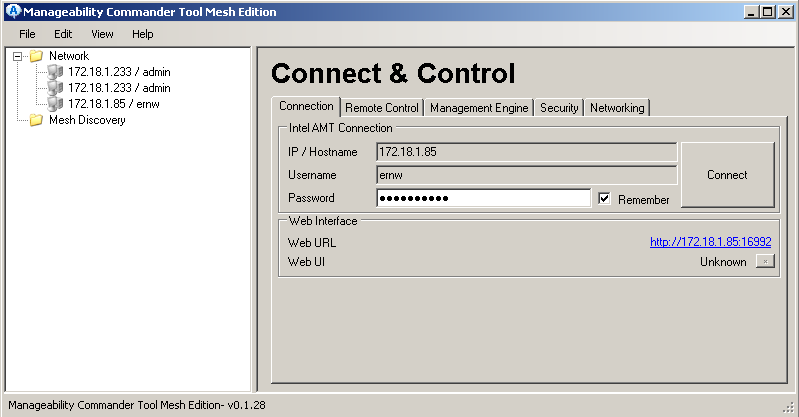
As you can see, I’ve already added an extra user account called “ernw”, for a start you simply have to use “admin” as the username and the password you’ve set on the device.
The tool is split into 4 Sections, “Remote Control”, “Management Engine”, “Security” and “Networking”.
The “Remote Control” section lets you configure VNC Access (you’ll need to set an extra password), IDE Redirection (you can decide to mount disc images from your machine on to the target machine), Port Redirection and “User Consent Required” (“None”! 🙂 ). You’ve also got “Serial-over-LAN”.
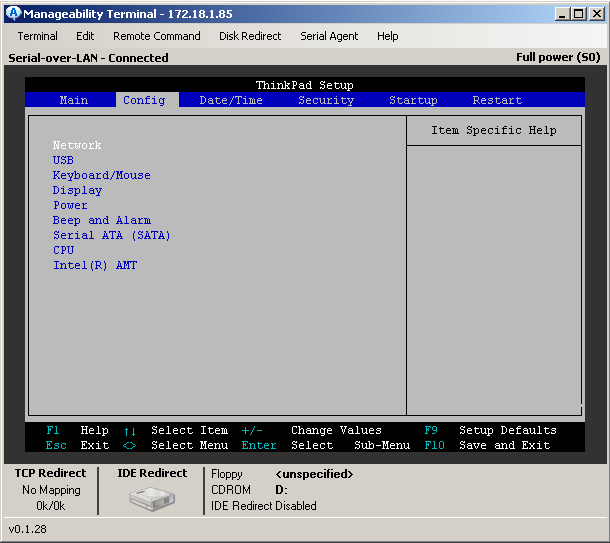
You can control the BIOS remotely via “Serial-Over-LAN” and afterwards switch to VNC to view or control the actual session on the OS.
The last screenshot shows the CDROM and the Floppy images that are currently mounted. The mounted images will be available on the used OS and pre-boot or rather to say during boot, so we’d be able to boot the target device from a disk image that is stored on our own machine.
I actually mounted a linux image from my laptop via LAN and booted it on the target device, then had look round by using VNC.
The security screen lets us add users, set their privileges and includes settings for the actual transport security. You can set all connections towards AMT to be encrypted using TLS with own certificates or make it trust the usual list of public CAs.
Next step is Networking, well AMT is in your computer and uses the network card, but it’s out of band (OOB). In this case OOB means the AMT chip sits between the network card and the OS transparently, so it’s in front of your Wireshark and your firewall. Though it establishes network connectivity before the OS is started, both the OS and AMT share one single IP address. This applies to wired and wireless connectivity. Luckily, if scanned from the outside, your favourite portscanner will find the open port (a port between 16992 and 16994) and should identify it as an AMT port.
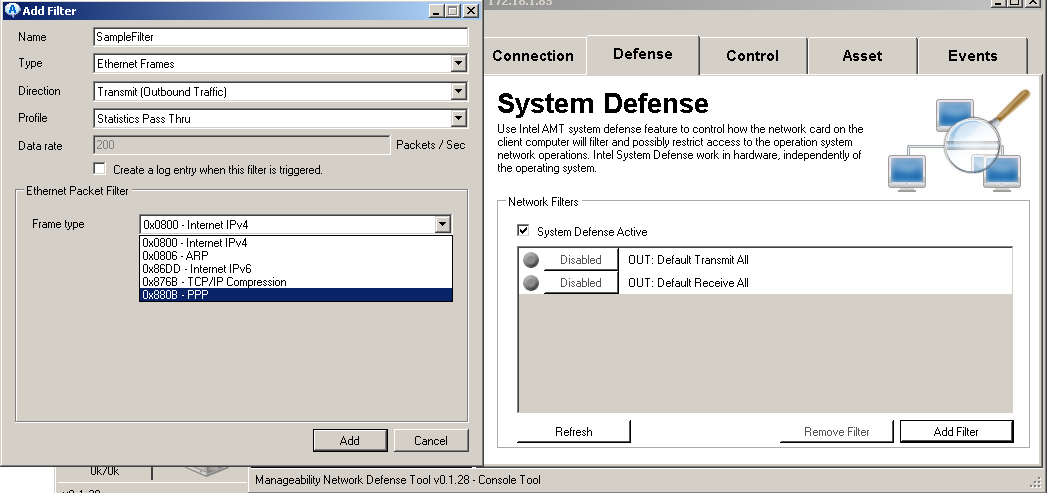
Now we’ll have a look at the “Manageability Network Defense Tool”. First time round reading the term I was slightly confused but opening the tool gave a quick and easy answer: It’s a packet filter! It’s a hardware based packet filter, being able to block traffic even before it reaches the drivers of our network card. All rules and settings will be stored directly on the device, just as certain log files. None of the data will ever touch the hard drive, as there is an extra memory chip for this purpose.
Coming to the next tool, let’s say you’re in corporate environment and need to provision hundreds and thousands of devices with AMT settings, what do you do? You use the Manageability Director Tool! Similar to a MDM solution you can create configuration profiles, CAs & certificates, And actual deployment will simply work with a USB stick, documentation says ‘just plug it in an boot’. An actual test report will follow a little bit after Troopers, together with a few more things I just need to try 😉 (Check out the final section for some more notes)
There are three more tools that come with the tool set. One will let you talk to your local AMT chip, one is for writing the USB drives and the last one for requesting remote assistance, but I actually haven’t got to take a closer look at those.
What I haven’t mentioned, yet, is the fact that you can also set a configuration Server. The command tool will give you the option to set a target host (IP or FQDN) for the AMT chip to connect to. This feature is intended to be there to support road warriors, but for us it’s just a great way to simply tell a device to “call home”.
In practical use….
When using AMT to remotely control a device, the user can be asked to Opt-In (setting in the AMT chip) or the session can just be established. The strange thing is, when I started, the target device always showed a red border around the whole screen, telling the user that he’s being watched. But, playing around with some settings, after a while the border vanished, so no hint was available on the device. Unluckily, I’m currently not sure which setting it was! So I’ll have to find that one, again.
To summarize why I simply love AMT:
- Find a device, completely ignore the power state and software (OS, encryption) on it
- Check if you can reach the BIOS splash screen (Some BIOS based pre-boot authentications might stop you)
- Check if AMT is in default state (CTRL + P might do the job) and use the password “admin”
- Make sure remote access and VNC are enabled
- Wait to be on the same network as the device or let it call home
Just a quick note: If one ought to let the device call home, use TLS, change the default port and then see if any IDPS system can find it within normal web traffic.
On the other side…..
Up to now, I’ve presented all the features on the rather positive side, so for the last part I’ll switch from insecurity mode to security mode…..
AMT will probably be hidden in very many devices you encounter in the real world (simply most Intel based systems with i5 and i7 CPUs), both Desktops and Laptops, maybe even a few “self-made” servers, and both private and corporate devices.
The interesting question now is, if AMT is actually covered by established hardening approaches or not. While hardening the OS and using full disc encryption together with a pre-boot authentication seems to be a standard step in device security, it won’t help for this scenario. During “exploitation phase” the attacker will never have to touch the operation system or any custom software on the device. All she needs is physical access.
Security measures need to be applied on the device side and hardening guidelines have to include BIOS provisioning. If using the simple “If you don’t need it, switch it off” approach, AMT ought to be disabled¹ and there should be no chance to reach¹ to the configuration window. But due to the possible impact of attacks, it is advised to check if AMT is really set to be disabled and possibly add a new line to applied hardening guides. To be on the safe, it might be a very good idea to provision AMT, too. Remove the default “admin” password and set it to something cryptic and then disable it. This way, even if somebody would find a way to reach AMT, he would still have to bypass another password.
1: Important note:
A few sources say that AMT might never be fully disabled and that it can actually be revived from the outside. Further comments on this aspect will follow in the second blogpost.
A quick future promise and my own todo
I’m going to continue this post, just after Troopers, and give a further insight into the USB stick part and will also cover “Zero-Touch”.
“Zero-Touch” is a way of configuring AMT without ever touching the device physically. But this will take a few more hours of reading docs, blogposts and bulletin board entries. For now it runs via LAN, is certificate based and seems to be slightly exploitable.
And to complete the whole topic, there is some interesting AMT malware out there. By the way, can you imagine AMT also communicating via a 3G modem?
Thanks for reading and see you at Troopers!
Brian
Hey, do you know FW means “firmware” instead of “firewall”?
Now, perhaps, you shall reconsider your phrase: “ME Overview Menu and the Local Firewall Setting (and hey, it’s set to enabled)”
Really, Intel ME is not as secure as you say. Why there is no a dedicated LAN port for this feature so it can run on a management network truly isolated from the Internet?
Why VLAN support has been dropped?
What is the security enhancements policy for computers running the management engine? Is there any?
These are important questions that earn an answer.
Hi there,
I’m really amused by the fact i stumbled upon this article as i am looking into the same subject myself as i got interested after reading about the iAMT 3g-capabilities. Any chance of firmware binaries which can be reversed?
Ill look forward at your next blogpost about this subject Brian
Awesome article. I noticed these ports open on my machine and started reading about. Once I realized what this tech was I searched for how to hack AMT and realized that holy shit, this can be used by anybody completely bypassing my encryption, security and passwords on the system, it is pre and completely independent from the OS. Scary.
Thank you for the excellent article Sir!